A Light Customization of Windows 11

Having nothing better to do, I made some casual changes. Actually, I had already done some customization to the system before (like transparent taskbar, frosted glass, and such), but suddenly felt the lack of density of the second dimension, so I decided to make some more changes.
BIOS
Regarding the BIOS, the only thing that can be changed is the BIOS logo that appears during boot. Before this, I had already changed it to Tianxuan Ji (I can no longer remember what it was originally, LOL), but for the sake of the system's so-called integrity, I decided to change it again.
My motherboard is MAG-B660M-MORTAR-DDR4, regretfully, I didn't buy the Wi-Fi version, but that's a story for another time.
Tools Required
UEFITool
UEFITool is a viewer and editor of firmware images conforming to UEFI Platform Interface (PI) Specifications.
I used version UEFITool_0.28.0_win32
Note that the NE Alpha builds do not support the upcoming replace operation #179, but the Alpha version is a bit clearer (all images below until replace are from the Alpha build)
In fact, using UEFITool to modify the BIOS logo is a bit overkill. In most cases, you can just use the ChangeLogo software. However, since I couldn't find any official website or git repo for this software, I decided not to use it.
BIOS (For my motherboard)
Process
For convenience, I extracted everything together.

Open UEFITool, press Ctrl+F and enter 7BB28B99-61BB-11D5-9A5D-0090273FC14D in the GUID field. This File GUID is fixed. Double-click on the search result at the bottom of the software to jump to the location of the LOGO.
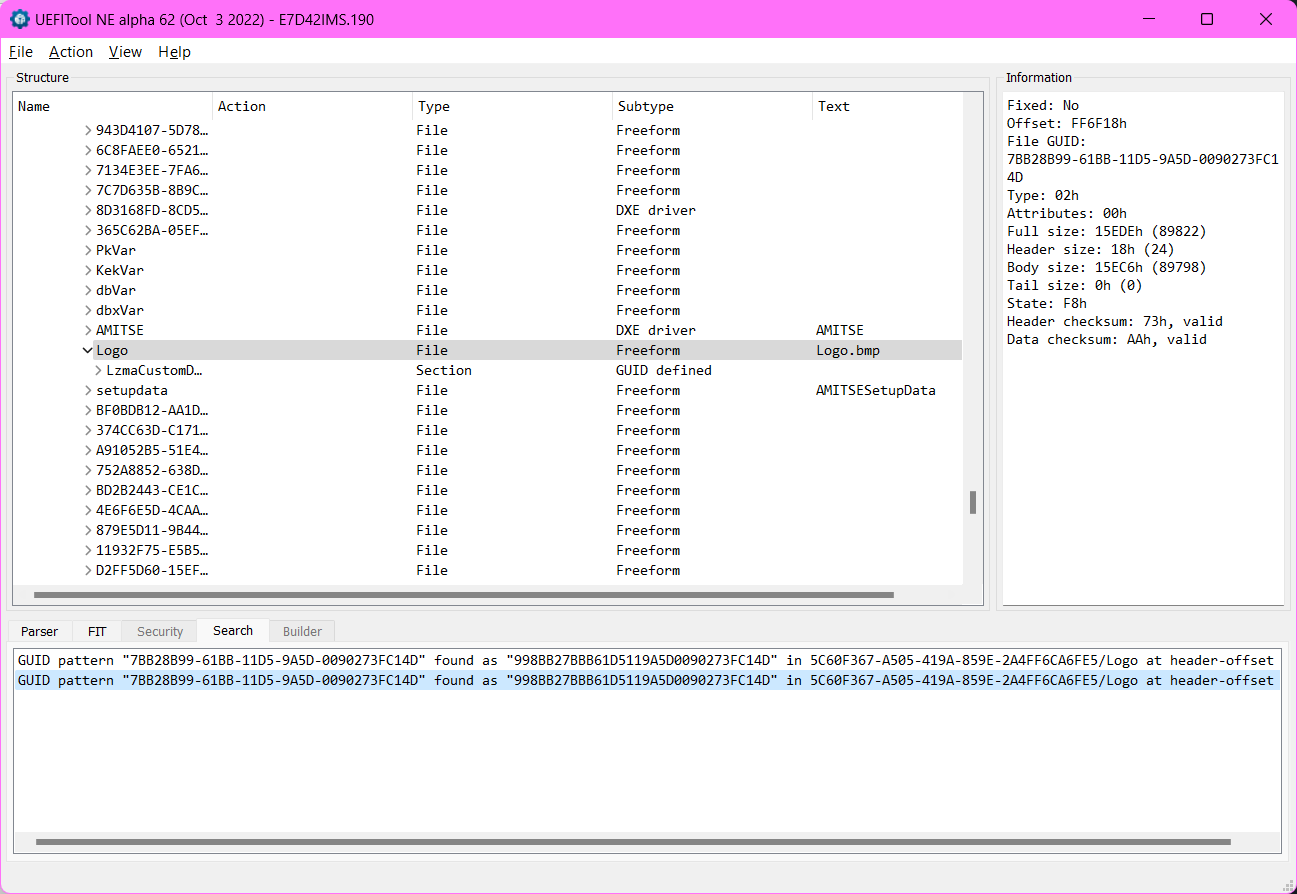
Expand Logo until you can see Raw section to determine where to replace the logo.
In my BIOS, there is only one Raw section. Different BIOS versions may have multiple Raw sections, in that case, you'll need to determine which file to replace one by one. You can right-click and Extract body to save it as a .bmp file for preview (or you can visually identify the bytes through Body hex view).

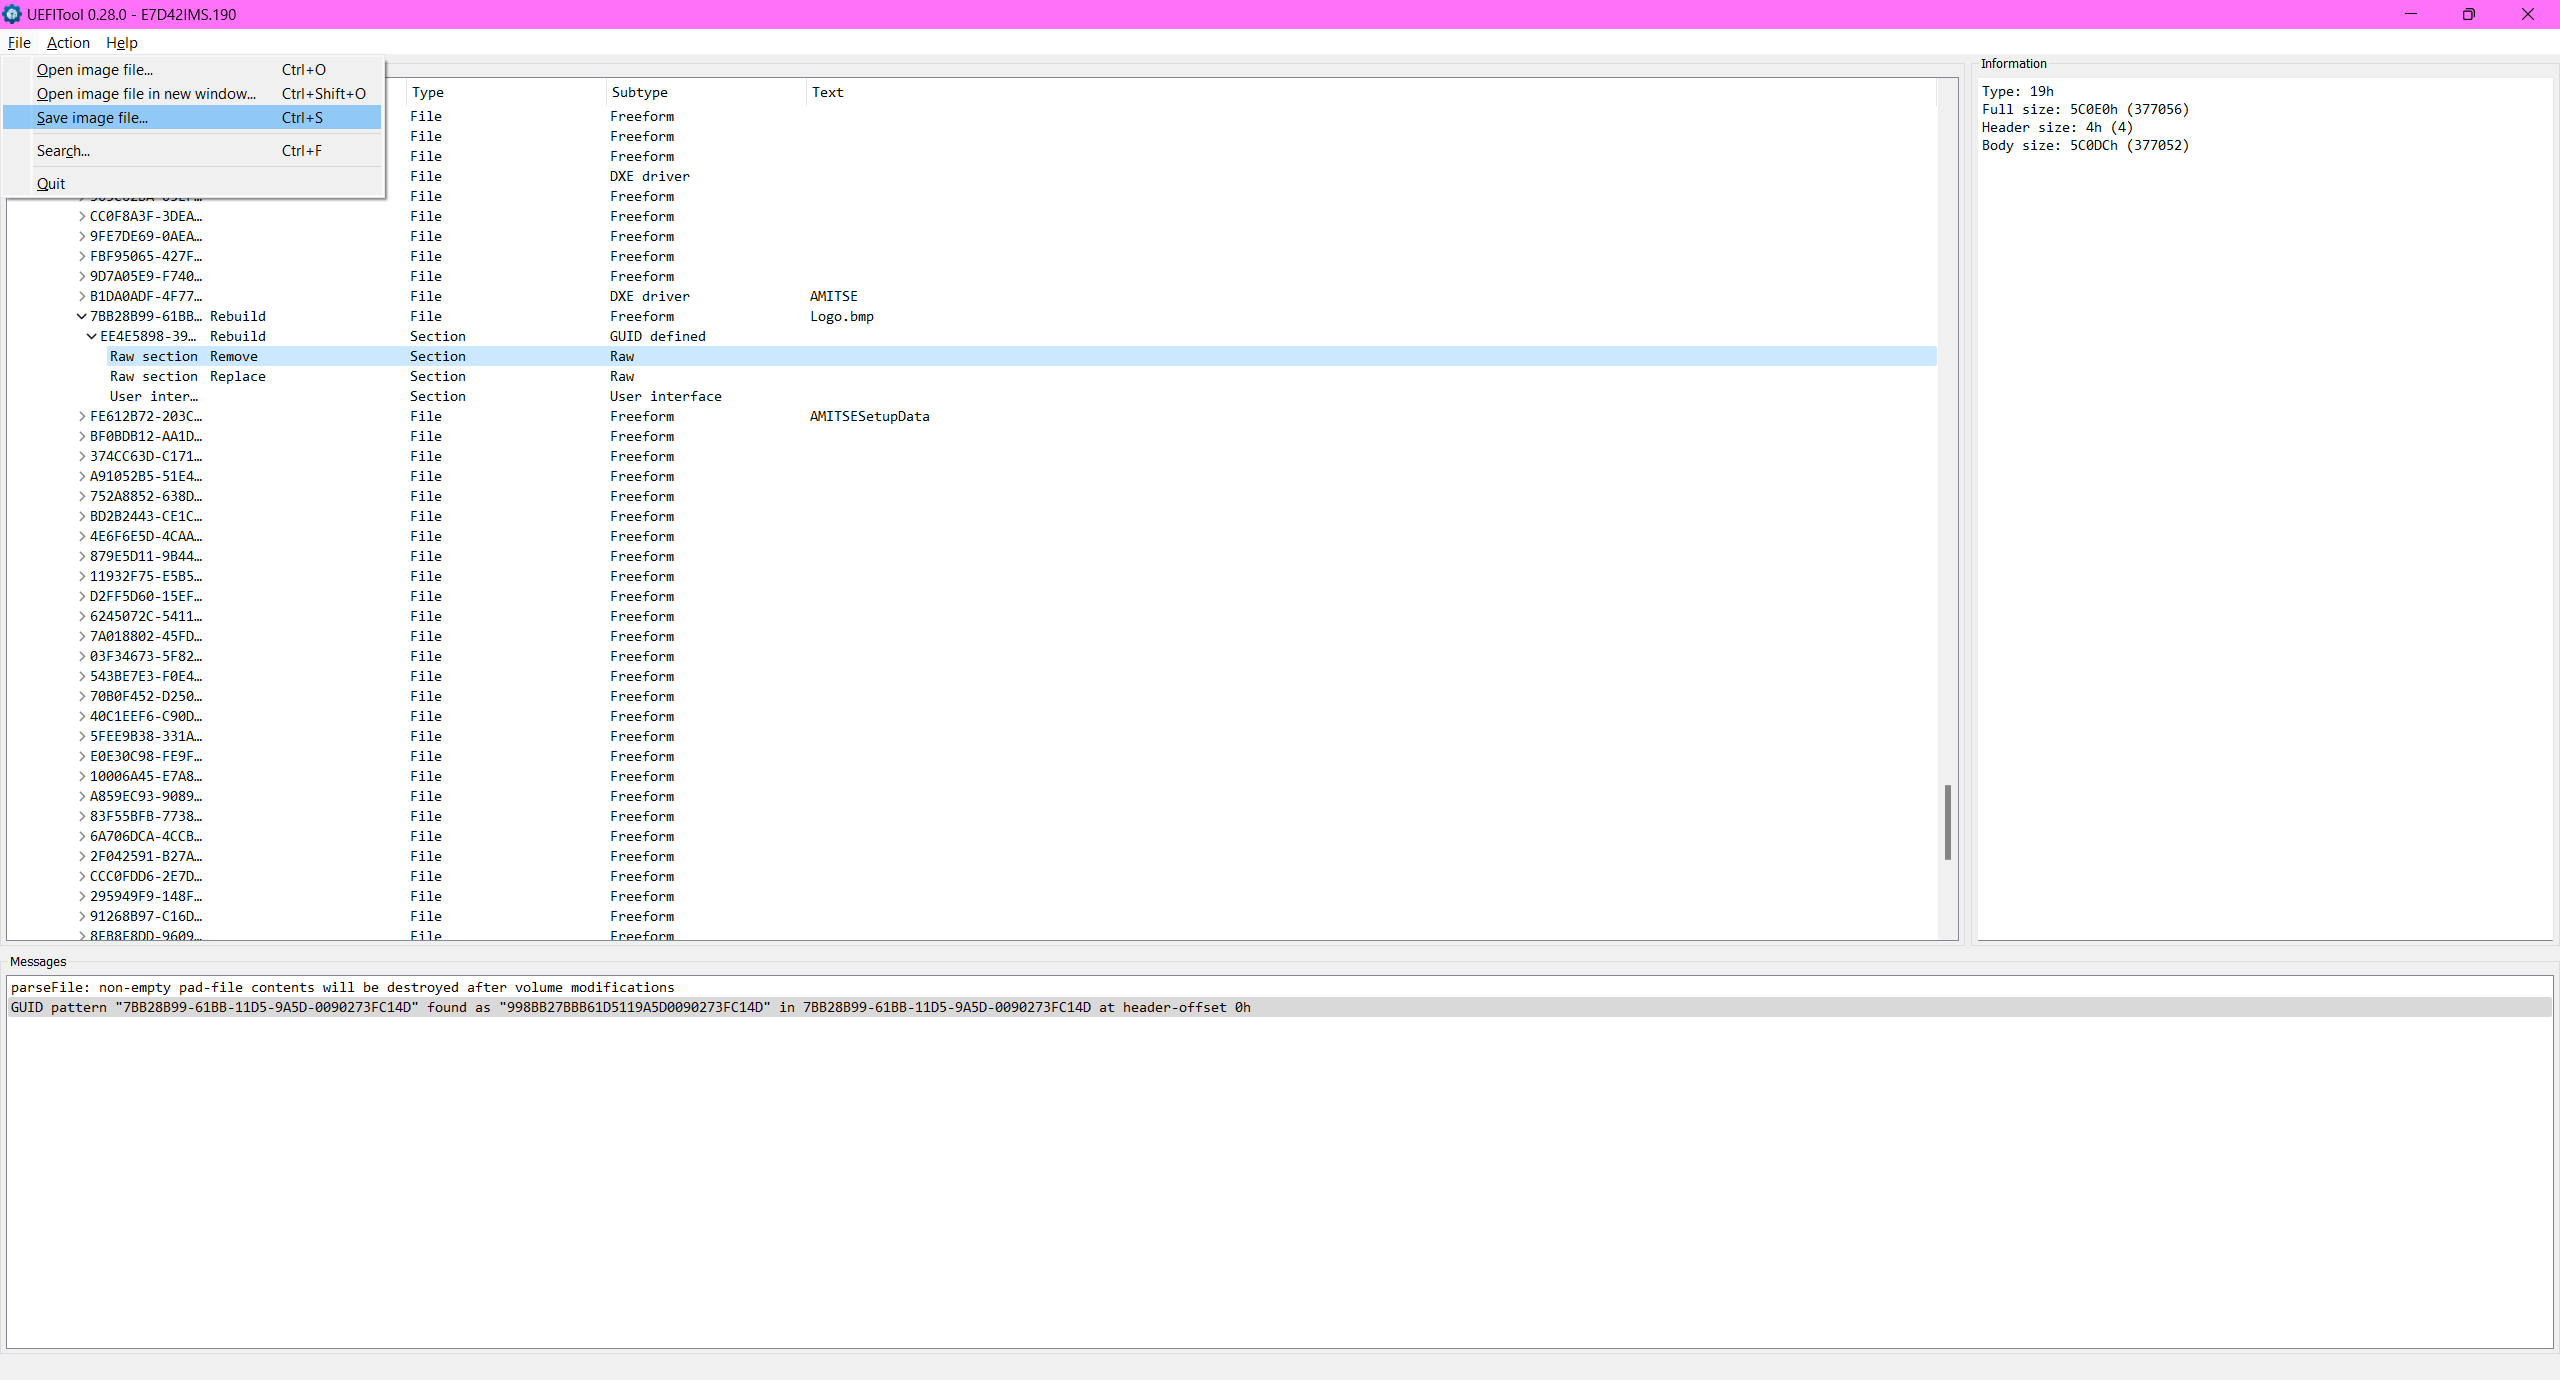
Next, prepare the Logo file you want to replace, and click Replace body...
While there aren't specific requirements for the Logo file, it is still recommended to use the bmp format. The file size should preferably be less than or equal to the size of the original Logo.bmp file (even though my Tianxuan Ji file size is much larger than the original Logo.bmp, it's better to be safe in case the motherboard doesn't support it)
If the replacement is successful, you should see a Remove and a Replace option in the original Raw section. Save this BIOS and flash it in. The flashing process varies for different BIOS versions, so I won't go into detail. Actually, it's just not convenient to take screenshots, and using a phone camera on the screen is too dirty
For the result, I simulated it with okay, PaintPaint is not understandable, let's use Photoshop instead

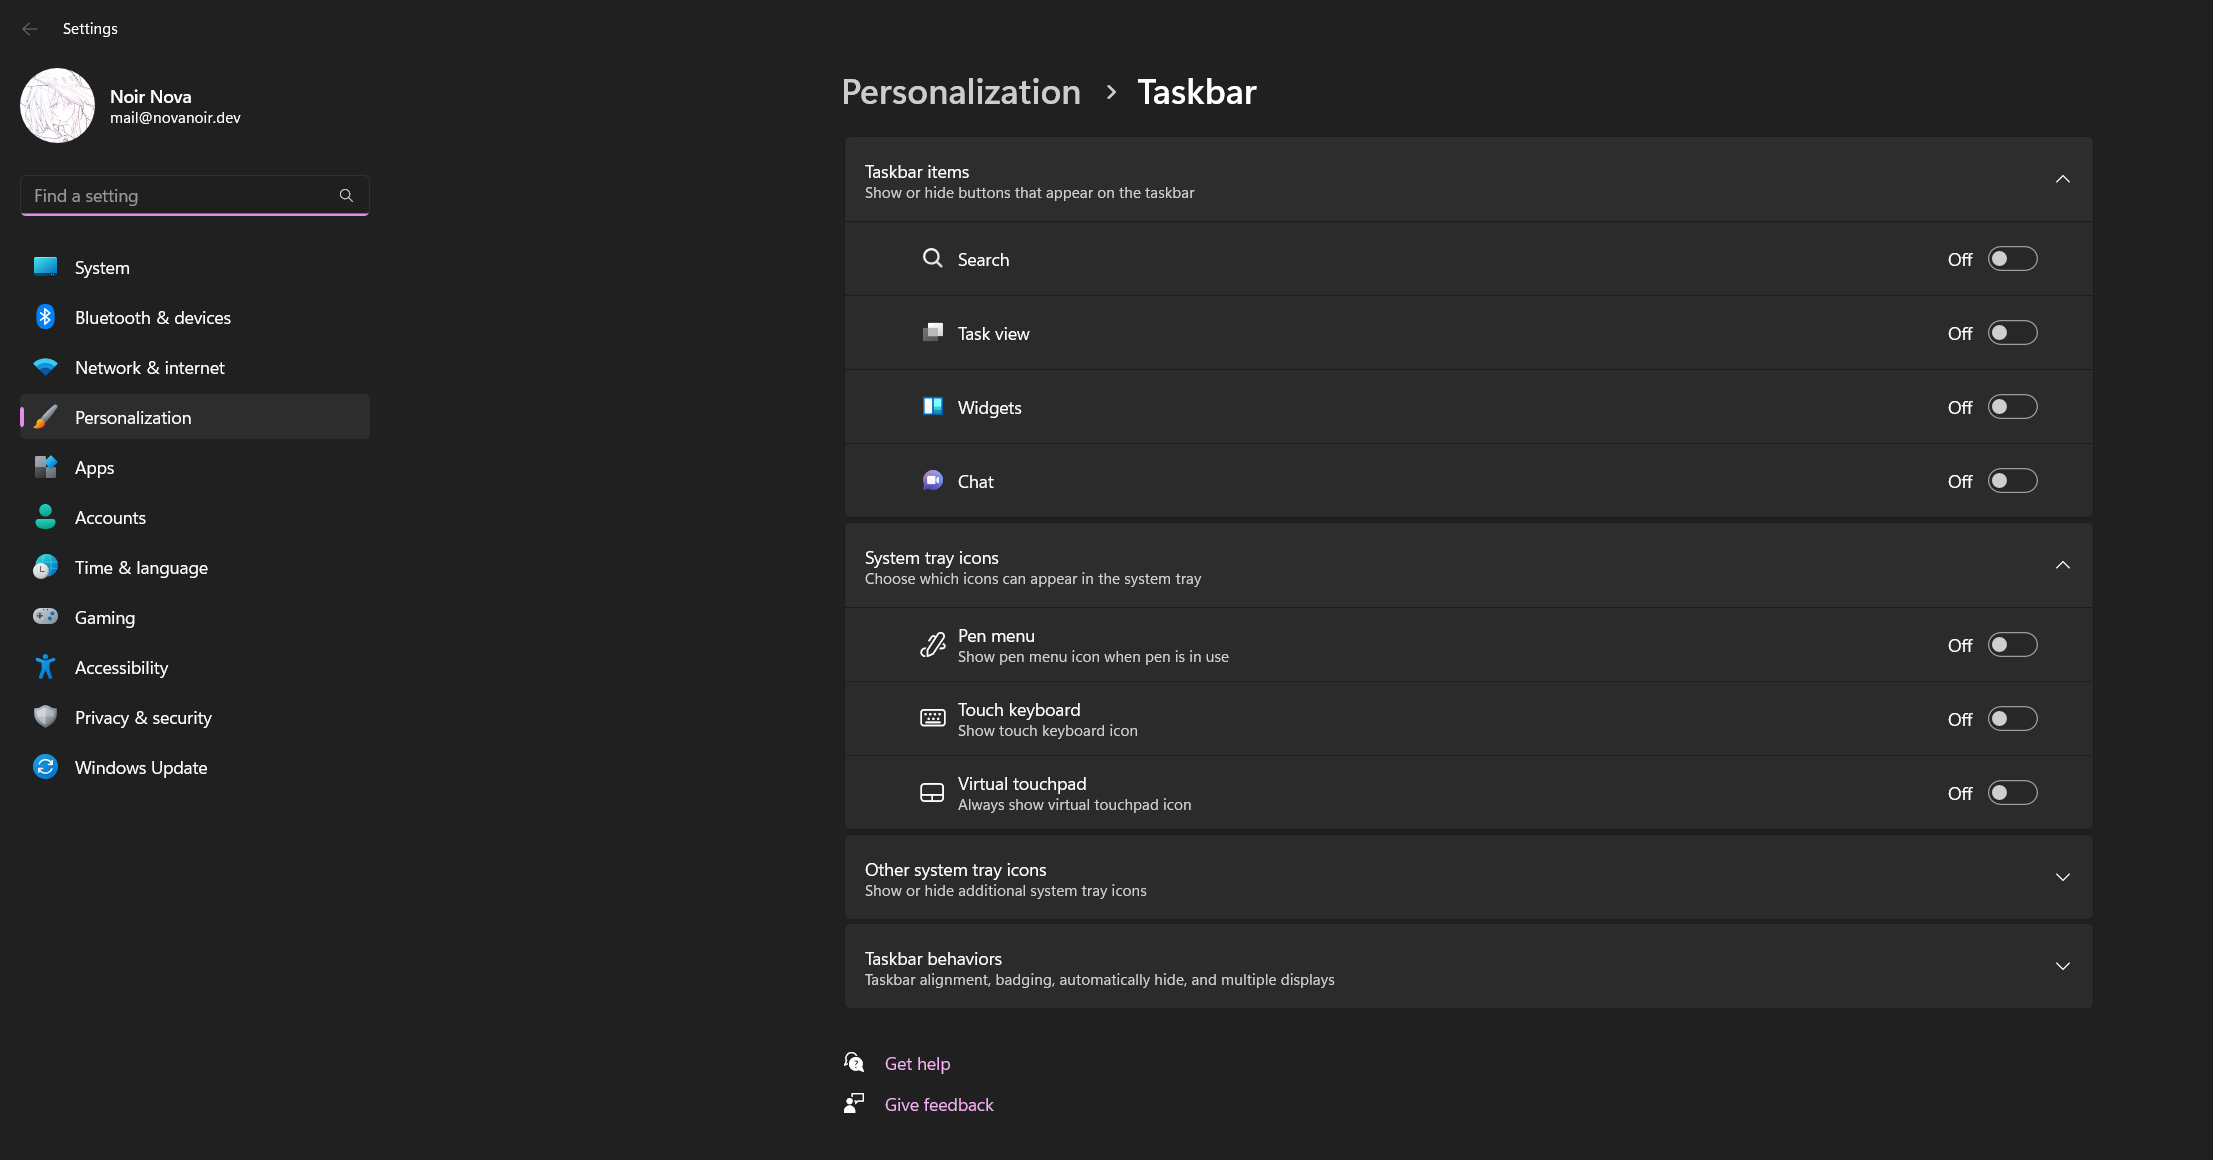
Taskbar
I won't redo it here, the Taskbar settings are as shown in the image below.
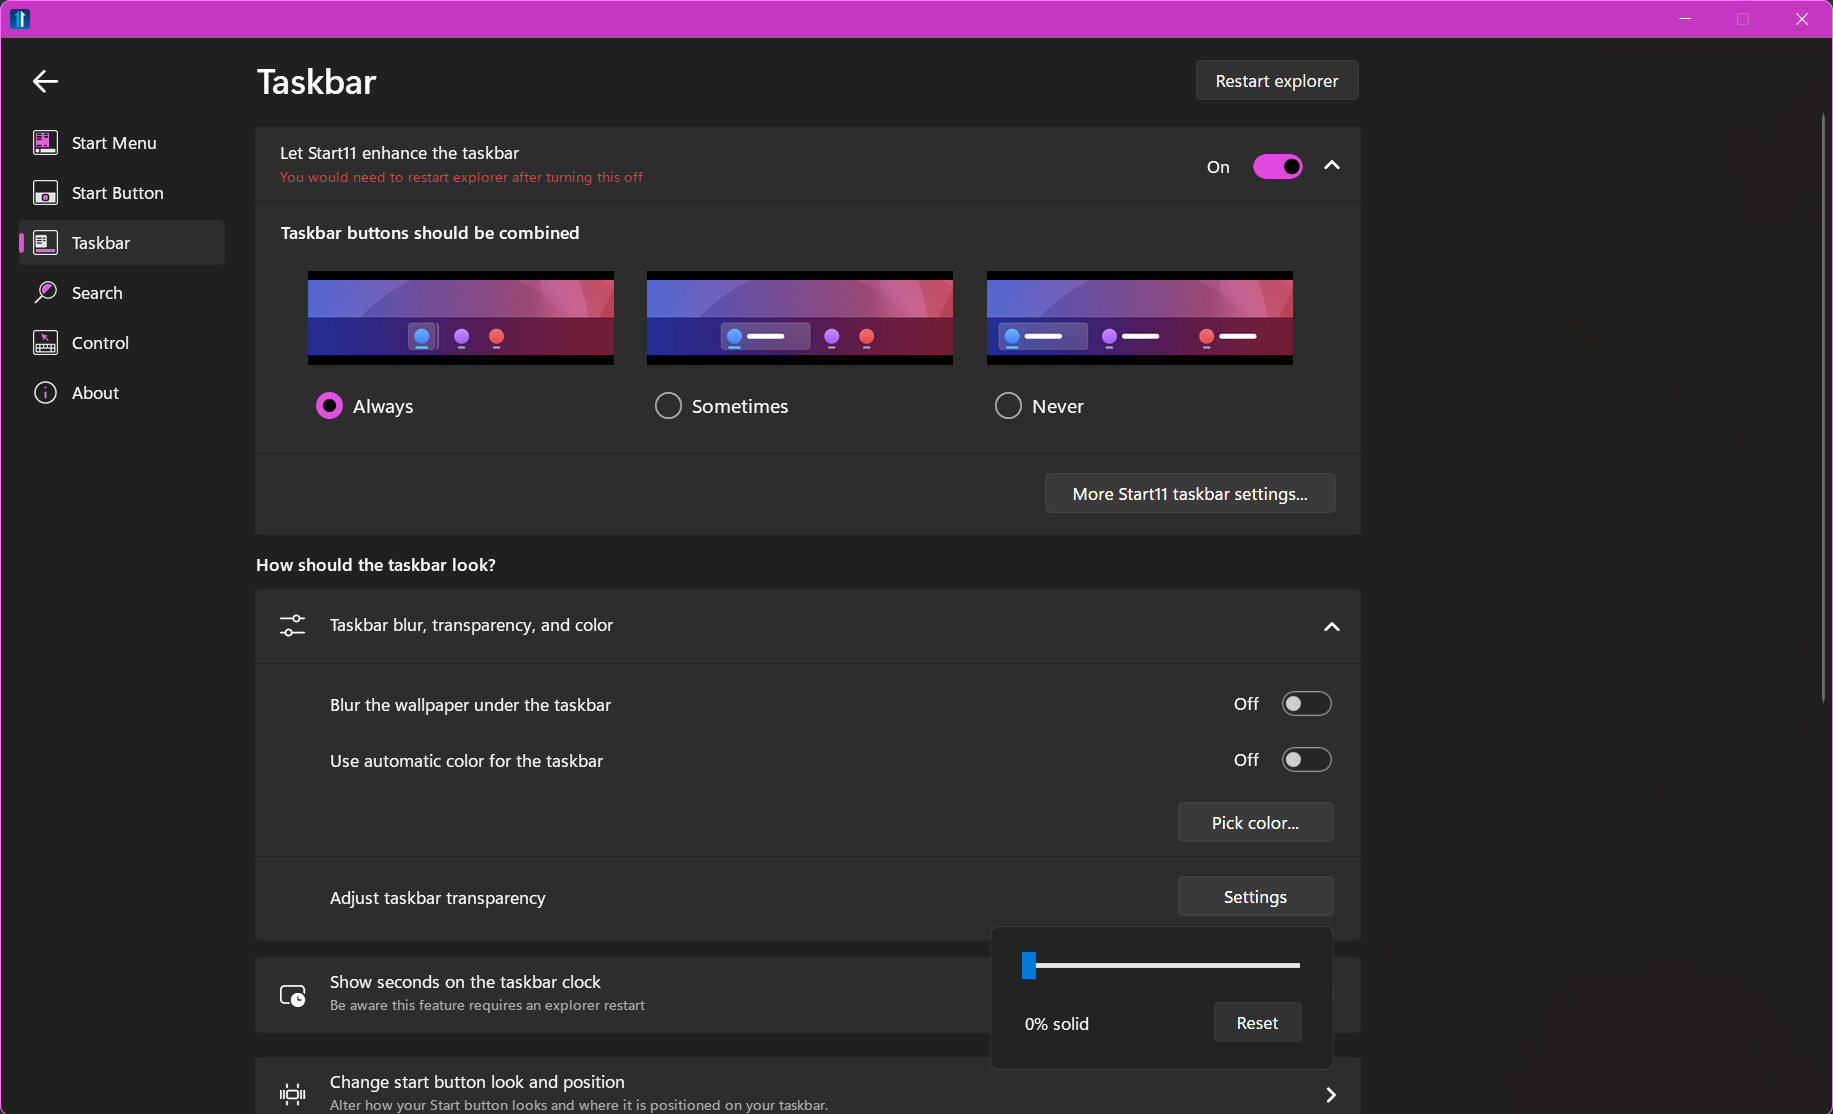
Combined with Start11, I created a transparent bottom bar and changed the Start menu icon, that's pretty much it.
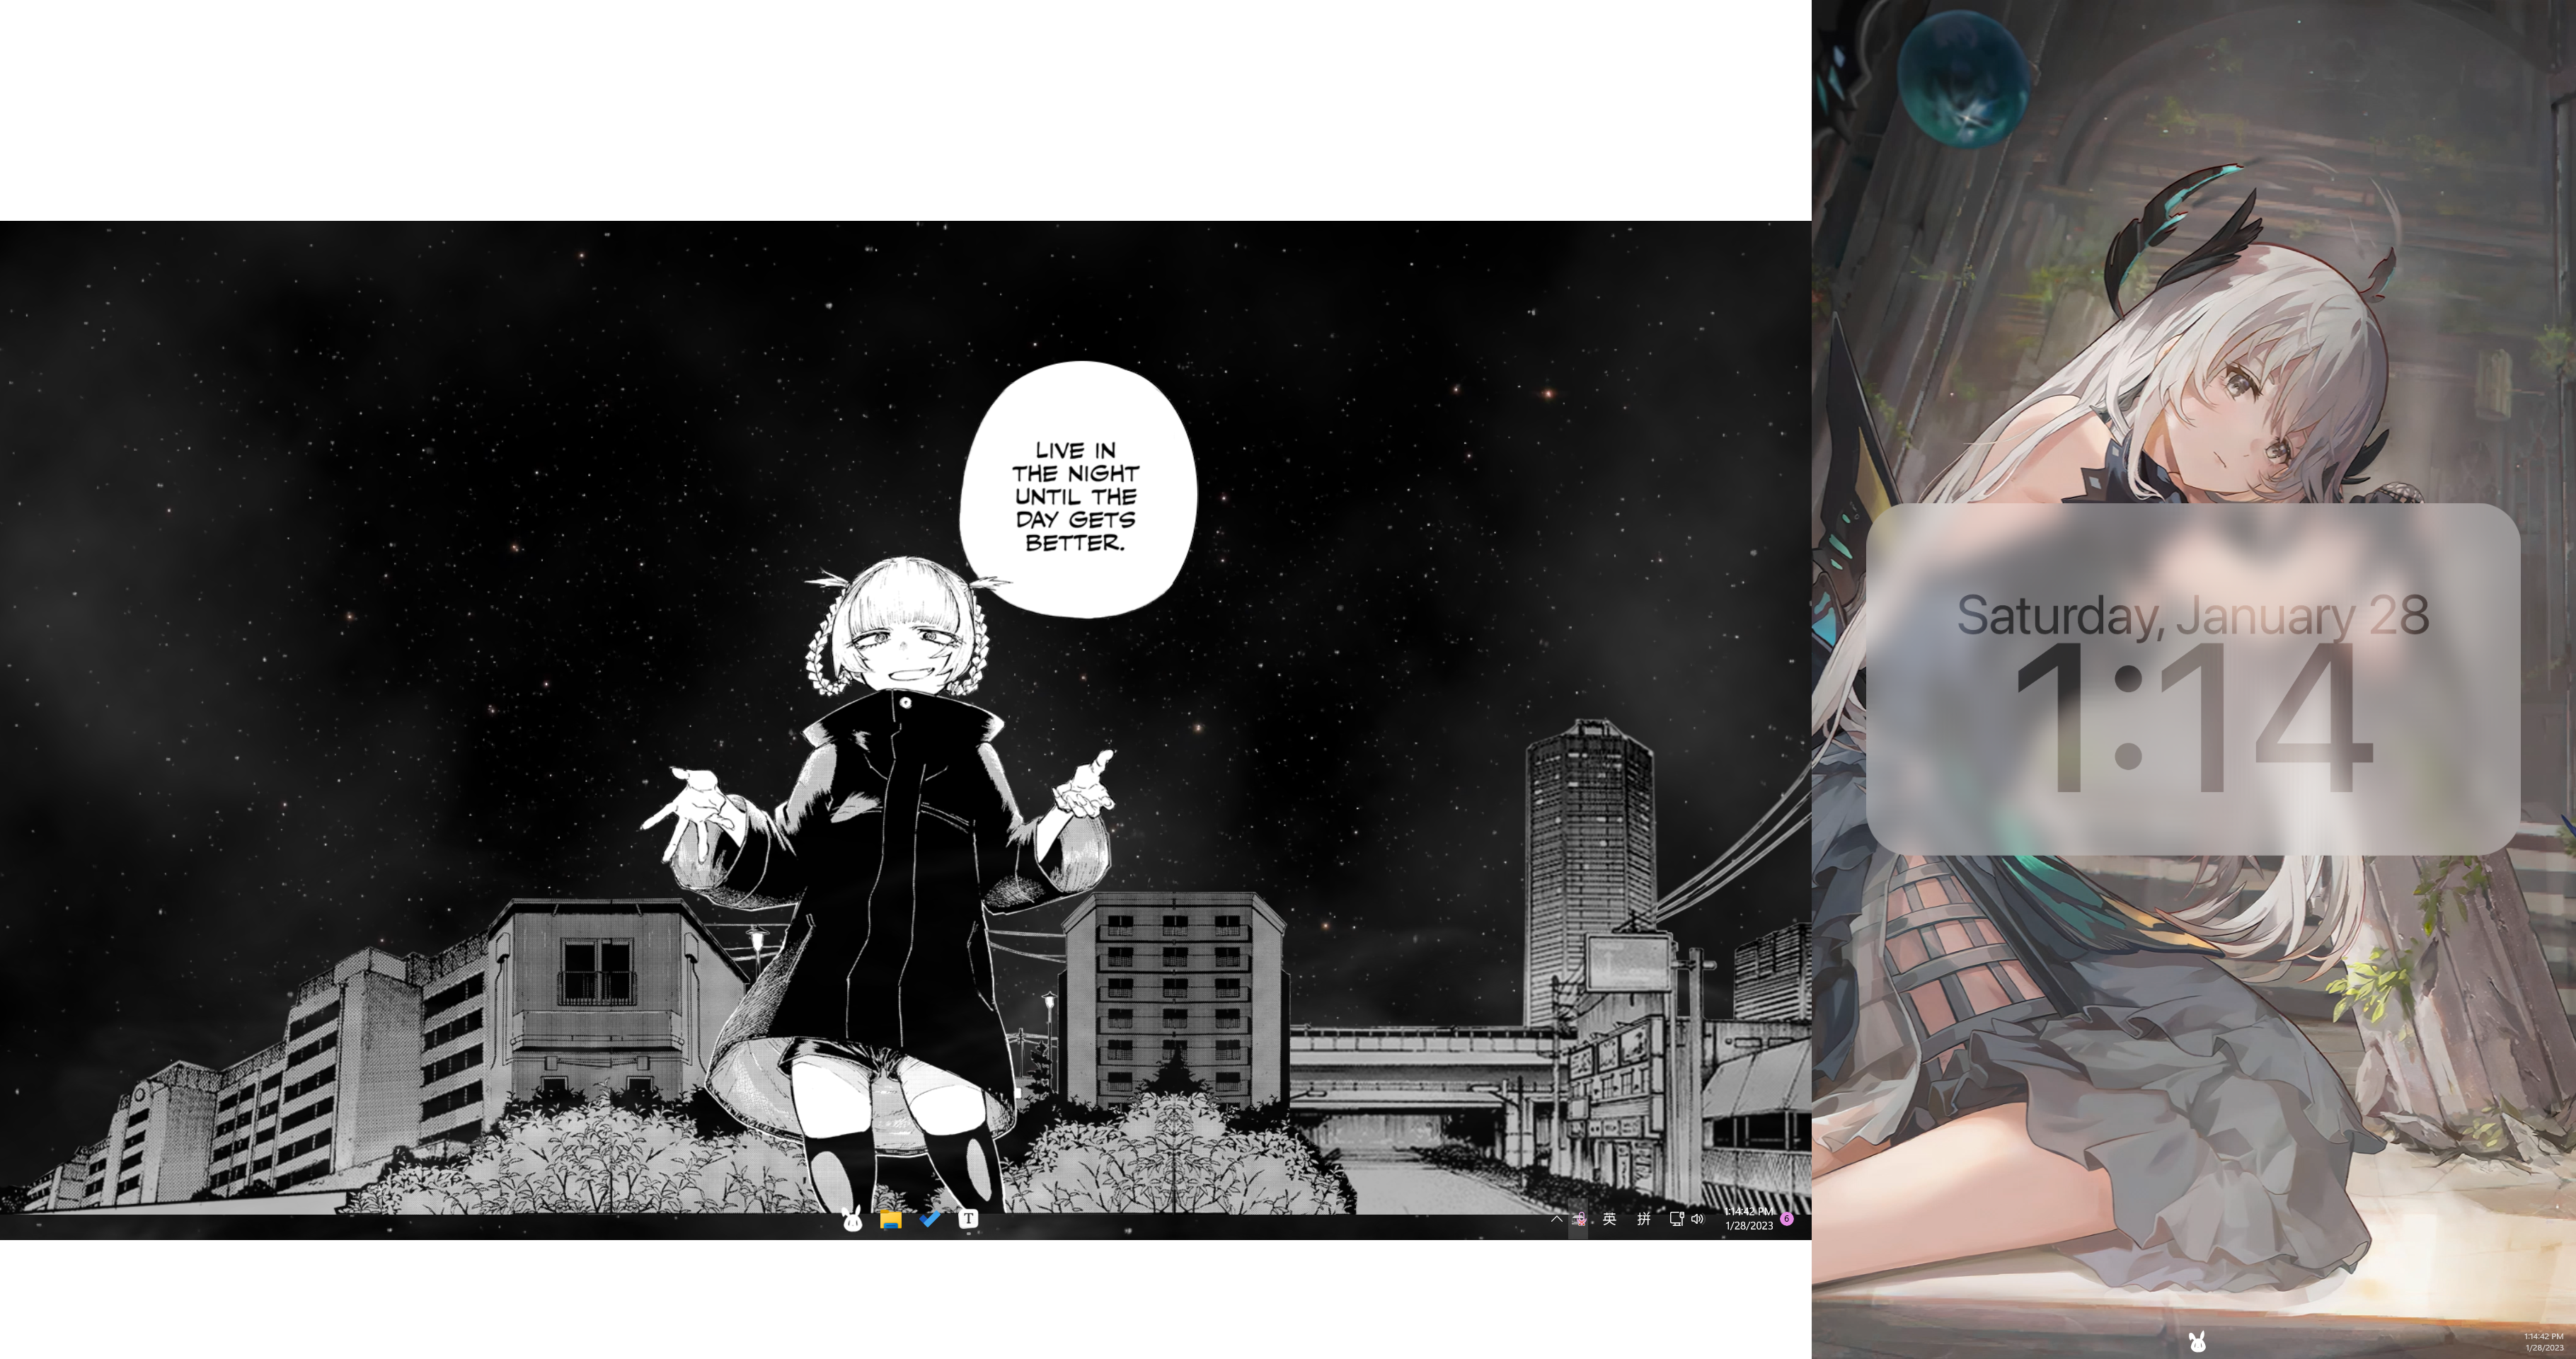
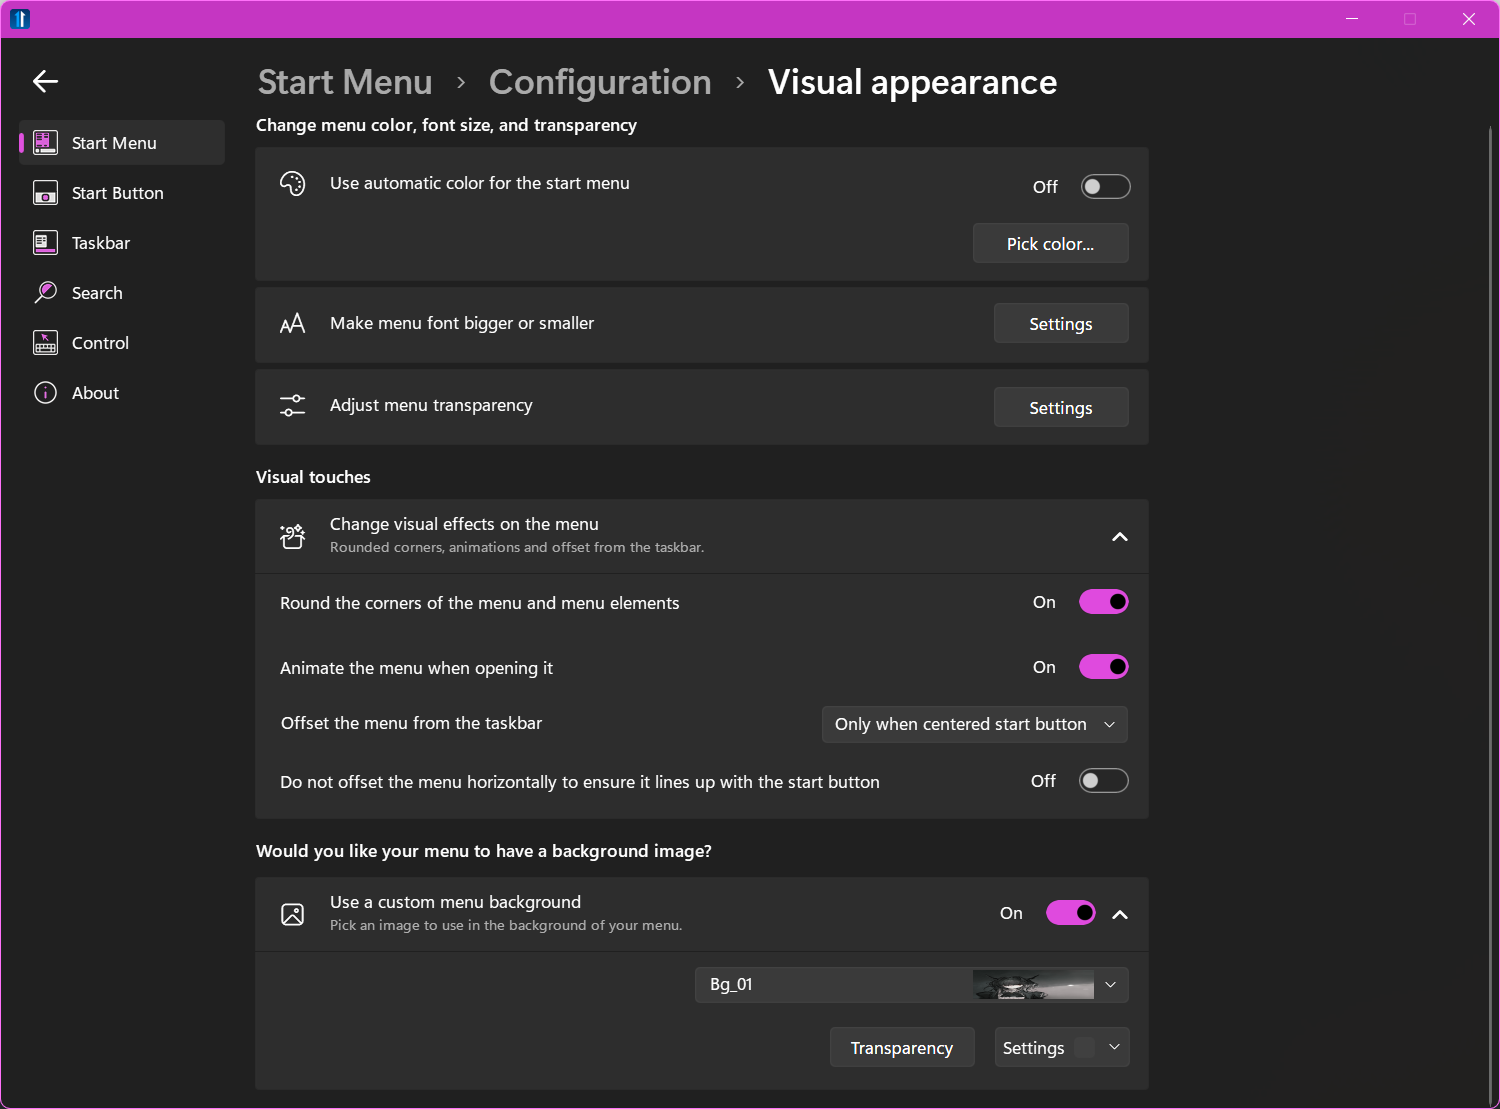
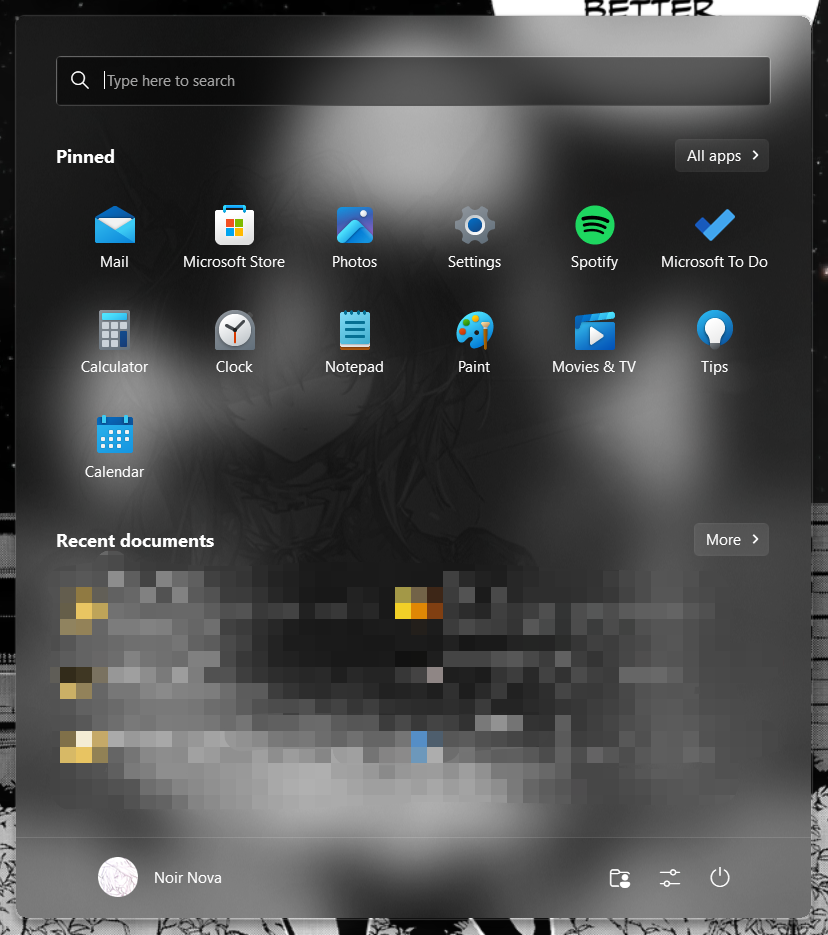
Start Menu
Still using Start11, I created a frosted glass effect with a second dimension background.
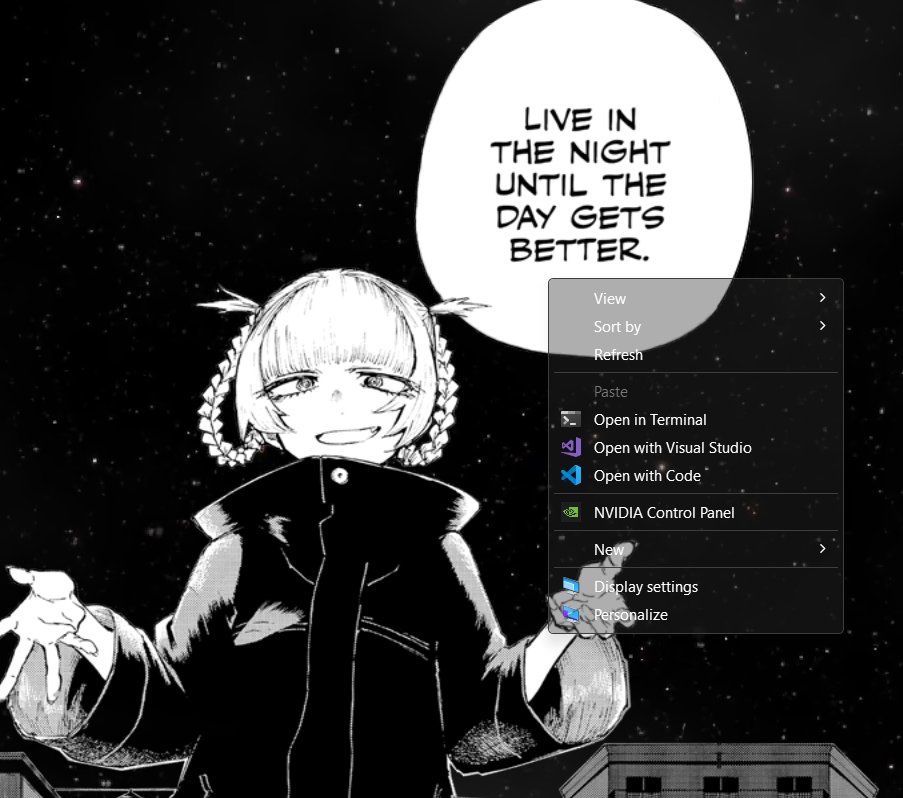
Context Menu
Using TranslucentFlyouts to add an acrylic blur effect, that's enough. Since it only supports win32flayouts, it can't blur the current Windows 11 menu; plus, there are taskbar icons, so I won't use it for now.
Alright, I disabled Windows 11's context menu using ExplorerPatcher, then because of compatibility issues with Start11, I uninstalled ExplorerPatcher, but the strategy of disabling the context menu is still effective, great. Now I can use this software.
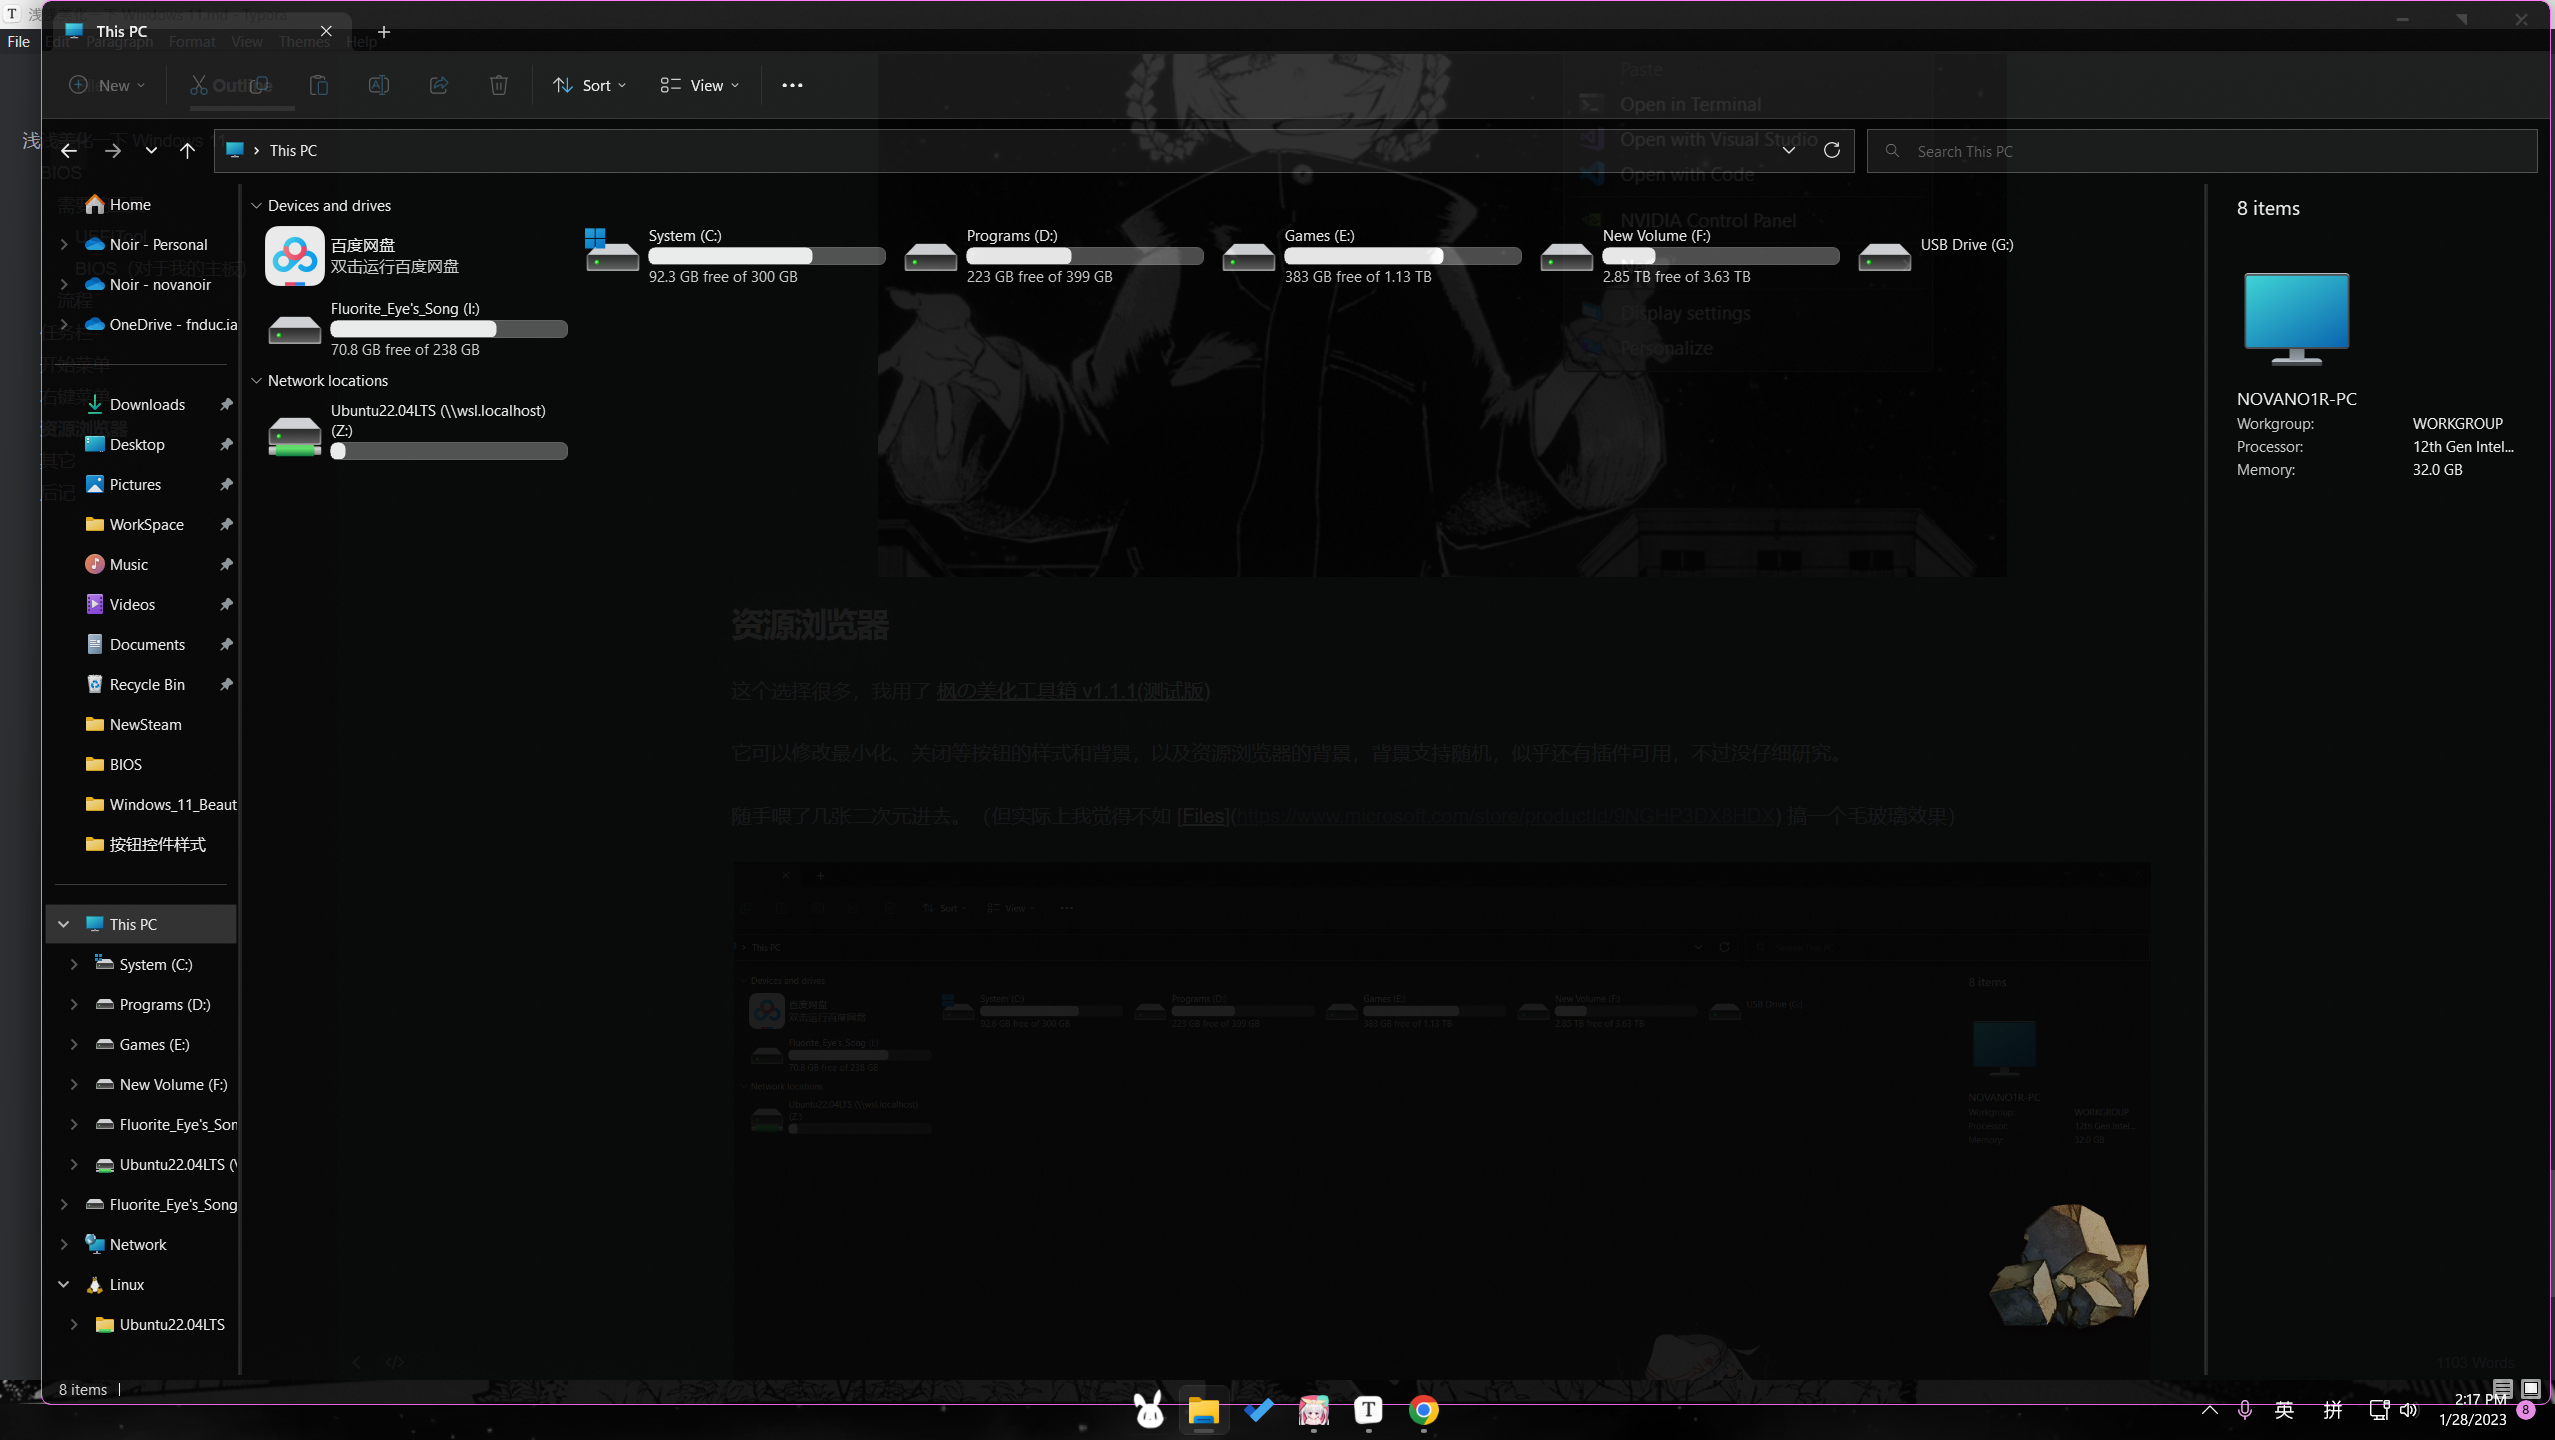
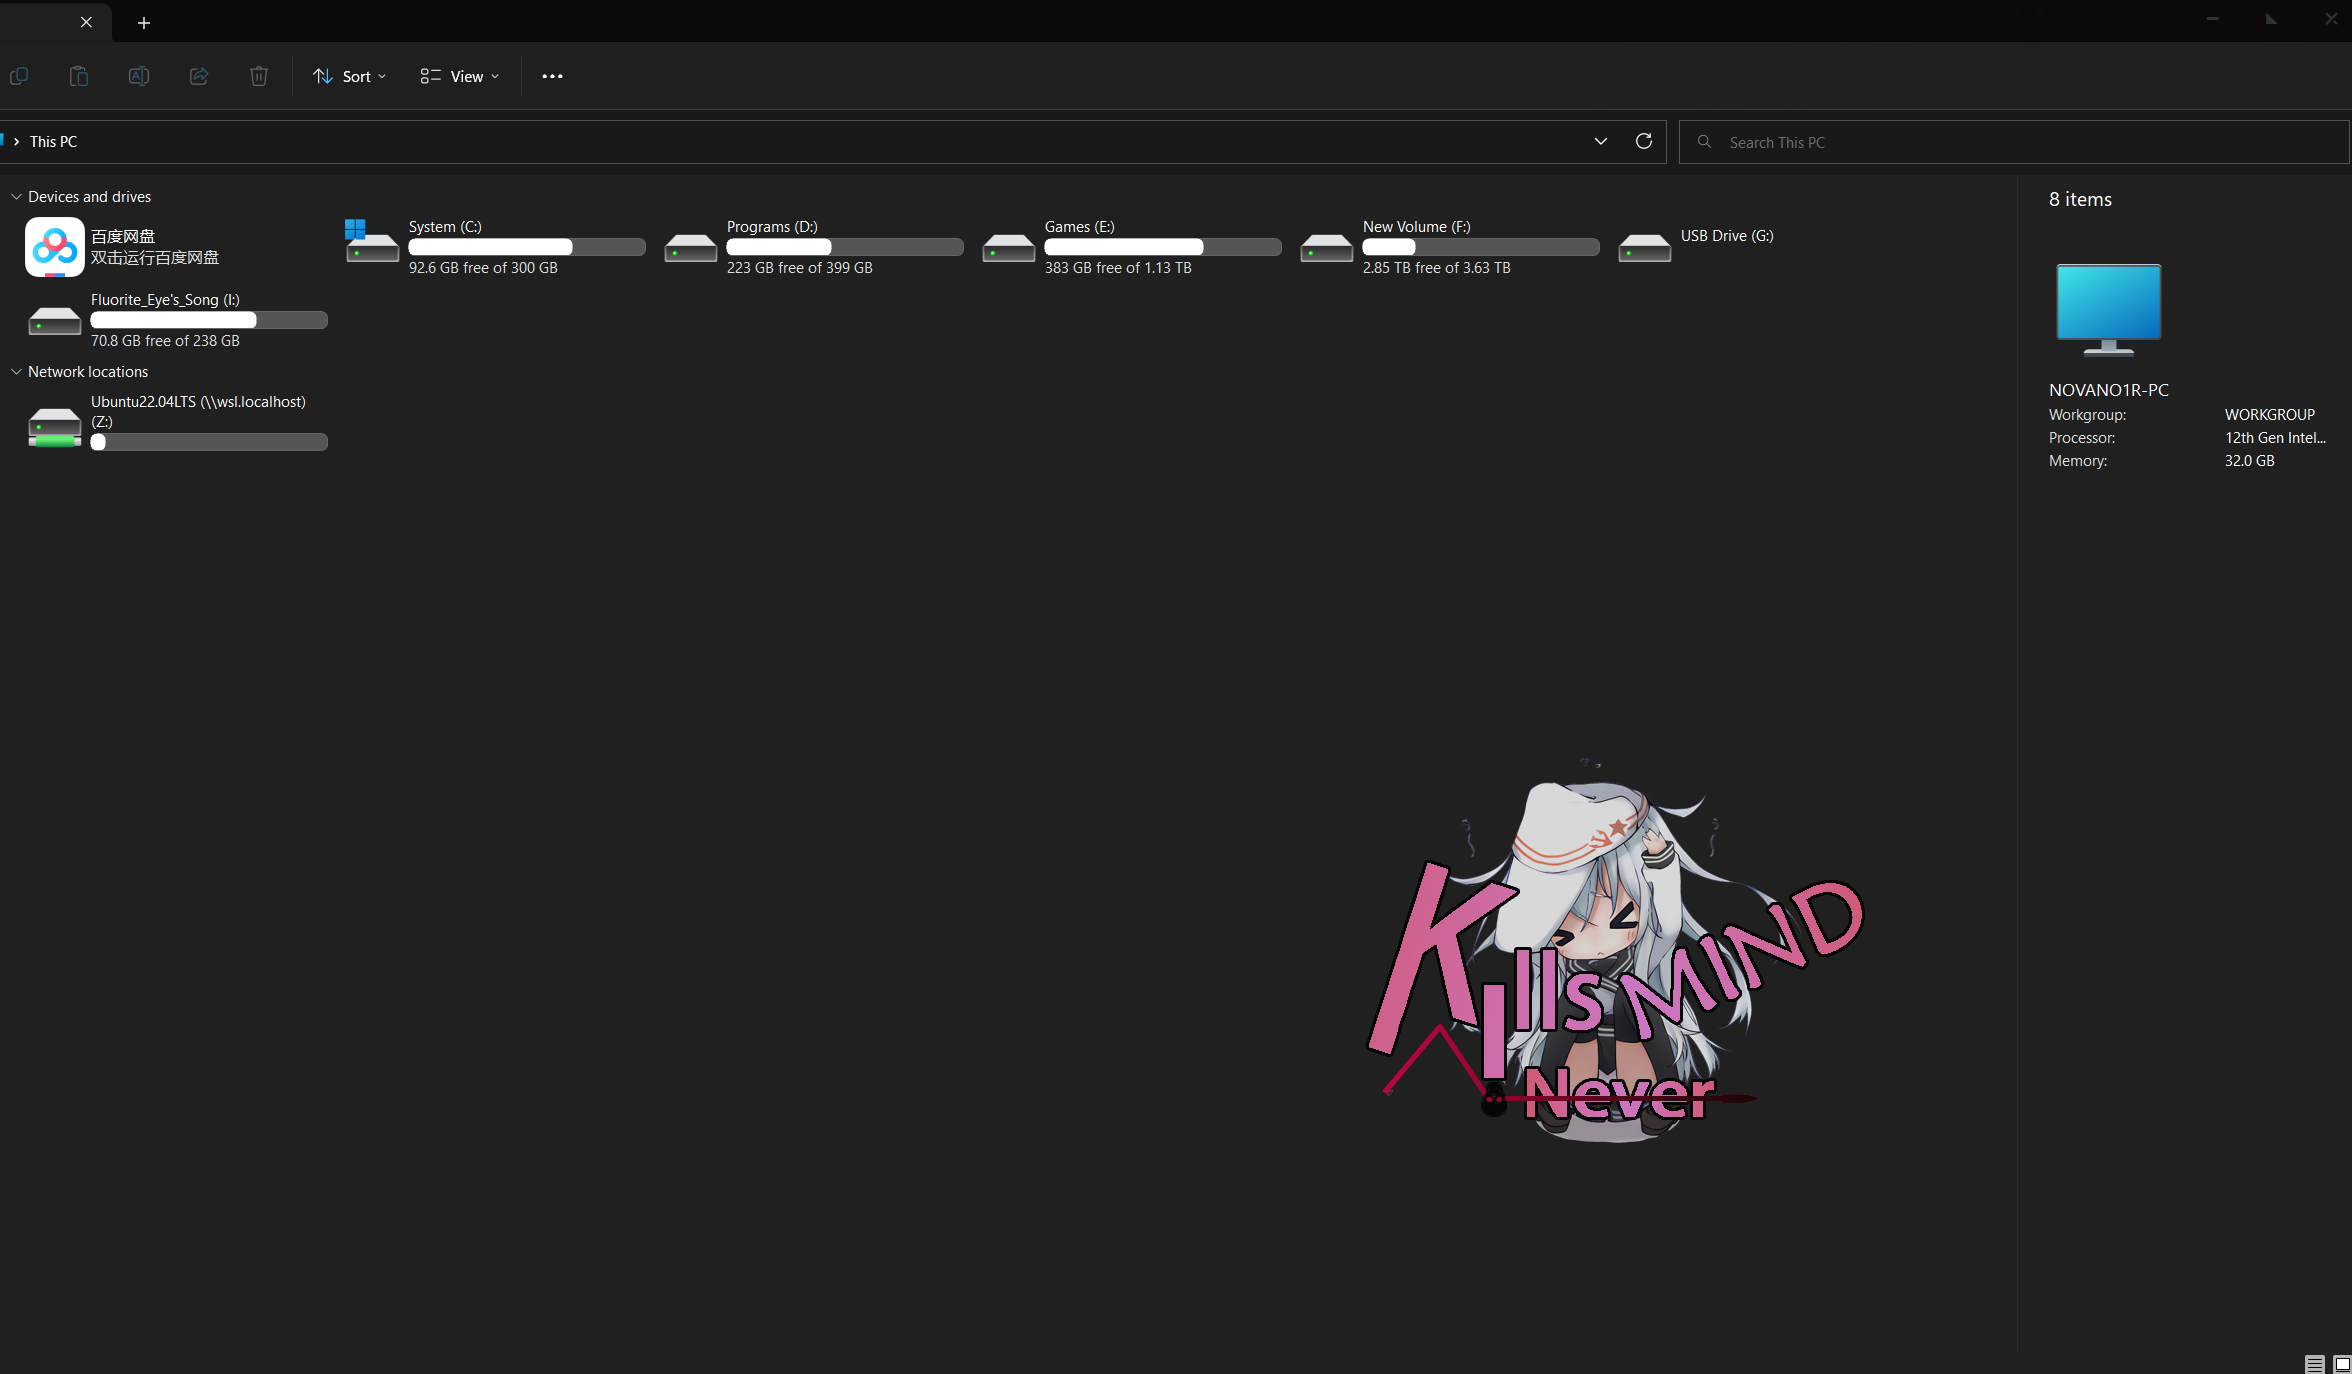
File Explorer
There are many options available, and I used Feng's Beautification Toolbox v1.1.1 (Beta)
It allows for modifying the styles and backgrounds of buttons like minimize and close, as well as the background of the File Explorer. The background supports randomization, and it seems there are plugins available, but I haven't looked into them carefully.
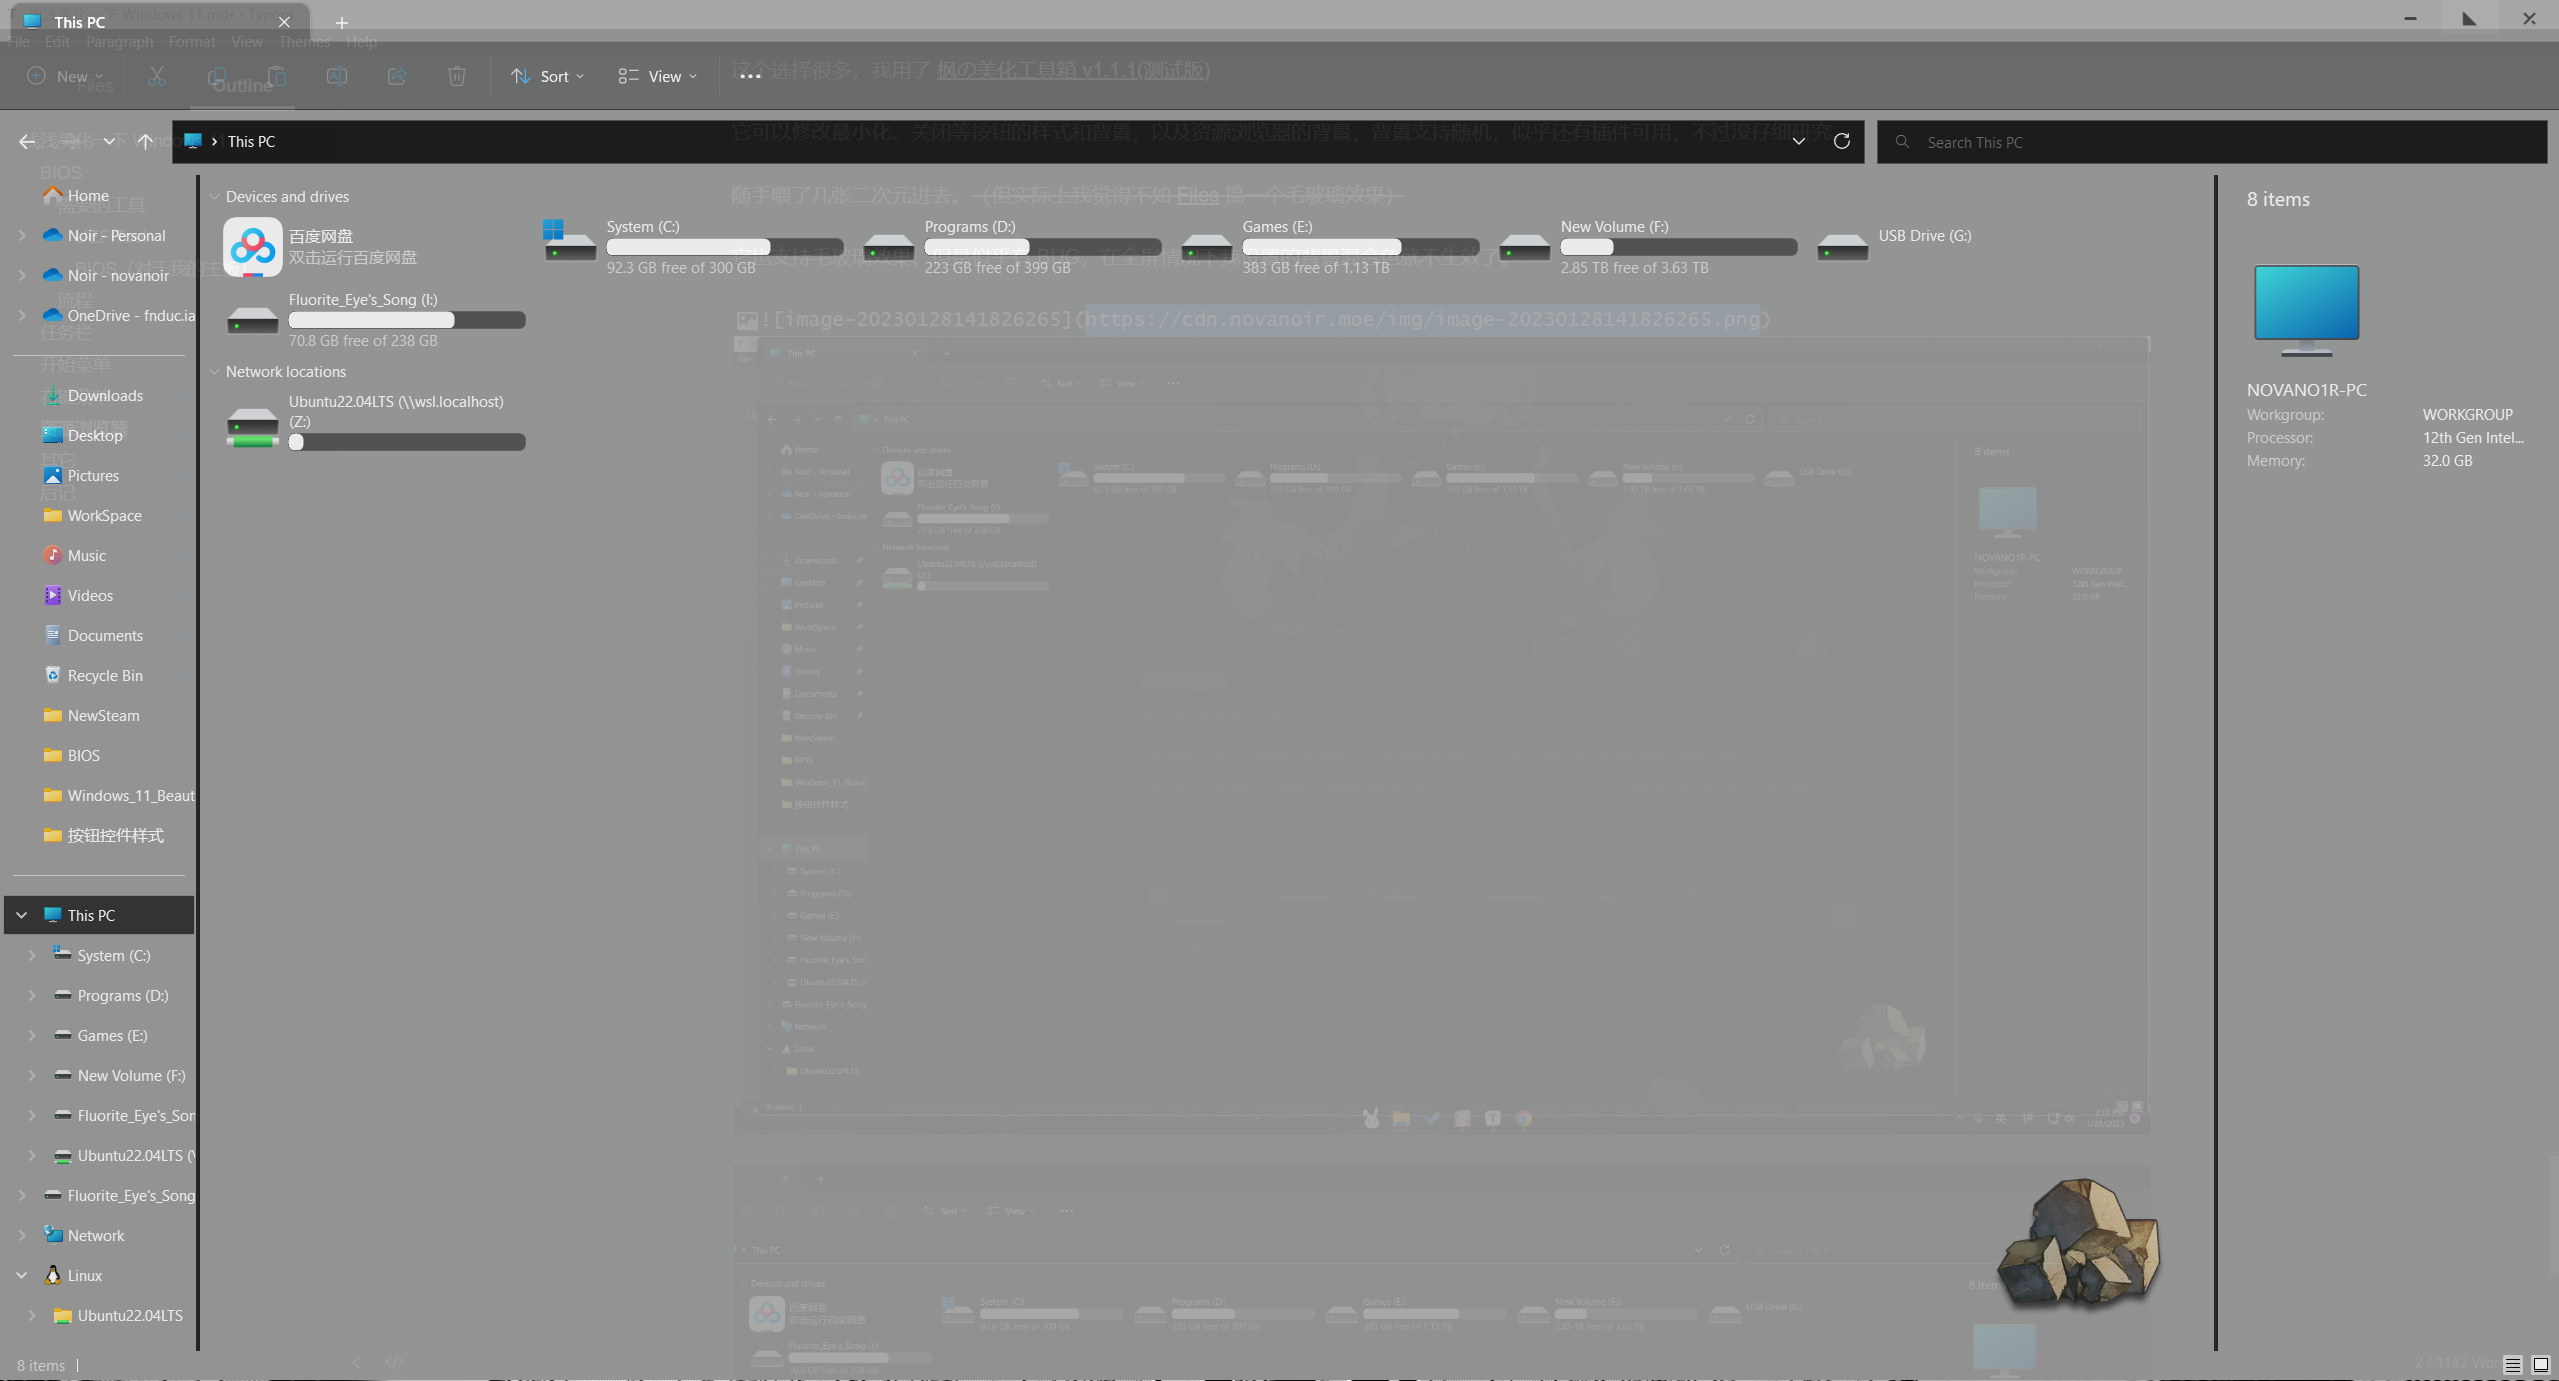
I threw in a few second dimension images. (But actually, I think it's better to use Files for a frosted glass effect)
It also supports a frosted glass effect, but there seems to be a BUG. When in full screen, the background color blend I set doesn't work, causing a glaring white effect.
Miscellaneous
Things like sound effects can be set directly, so I won't go into detail.
Afterword
Except for the BIOS, it seems like there's not much technical content; it's all about using software to customize directly.
I'm silly for writing this.
This Content is generated by LLM and might be wrong / incomplete, refer to Chinese version if you find something wrong.